Brow Pencil
A precision, hard-tipped pencil used to draw fine, hair-like strokes that fill sparse brow areas.
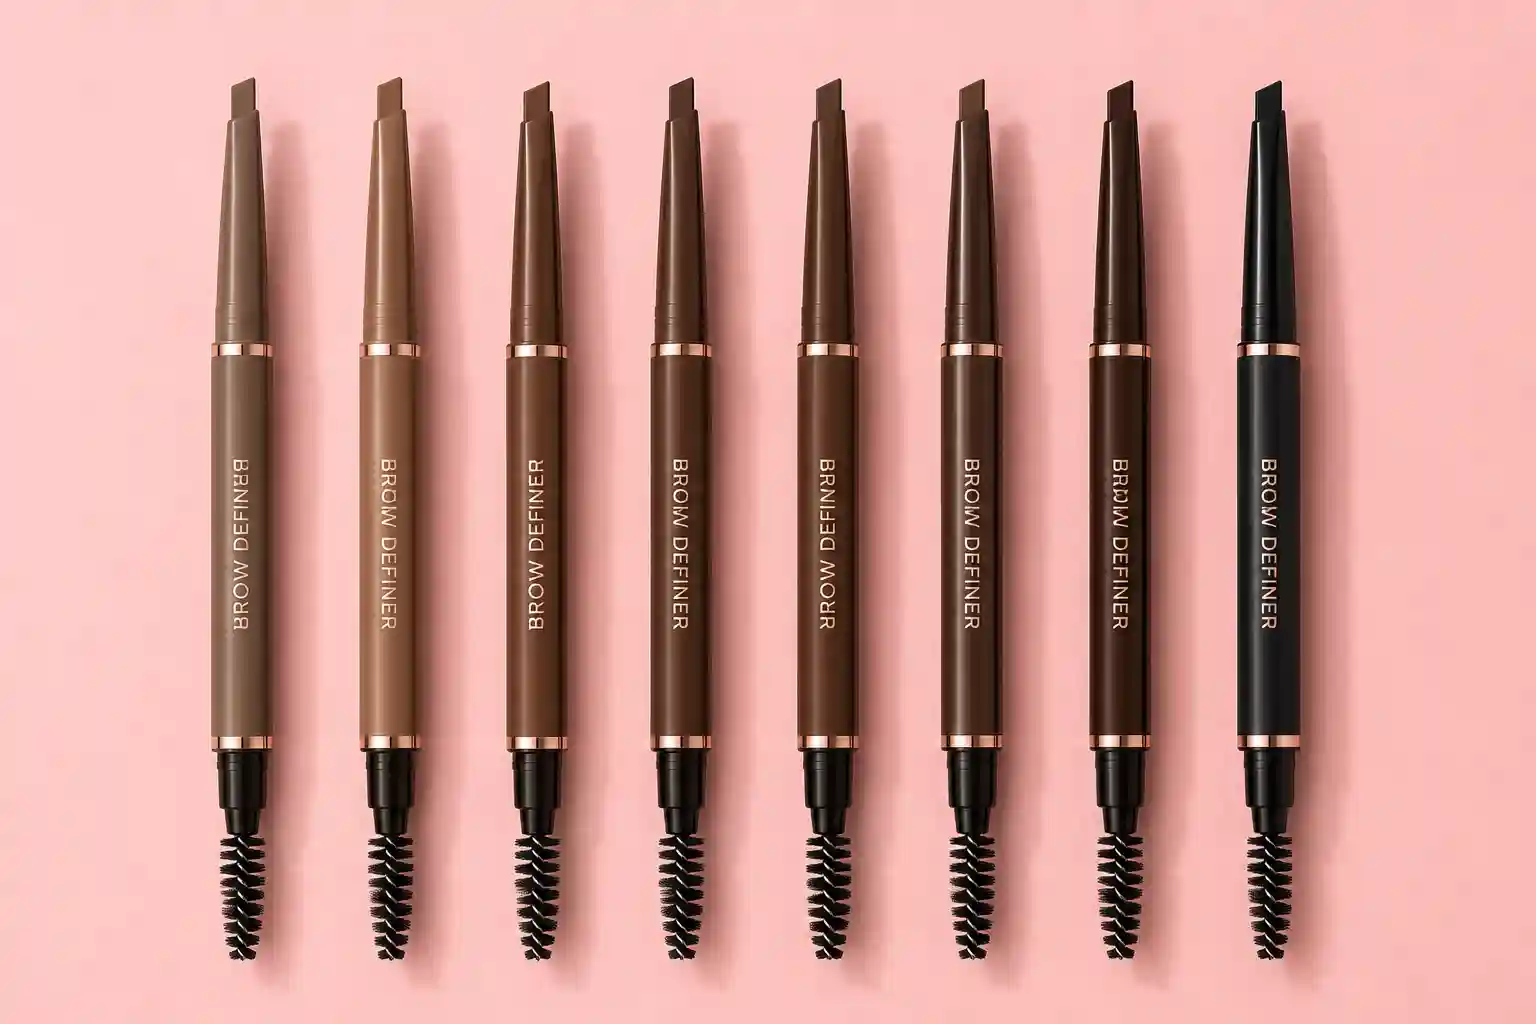
What it is
A brow pencil is a fine-tipped, twist-up or sharpenable pencil built to draw individual, hair-like strokes rather than a broad swipe of color. It's the most precise of the three main brow formats, and the one most suited to filling small, specific gaps rather than reshaping or coloring the whole brow at once.
How it works
The pencil's core is a firm, wax-based mix of pigment and binder, formulated to hold a fine point rather than glide on broadly the way a softer product would. That firmness is what lets it deposit thin, distinct lines that mimic individual hairs when used in short, flicking strokes. Many pencils pair a spoolie brush on the opposite end, used afterward to blend the drawn strokes into the surrounding natural hair so they don't sit as separate marks.
How to choose one
- Match the shade to brow hair, not head hair or skin. Brow hair is often a shade or two lighter or cooler than the hair on the head, and matching to it looks more natural than matching to skin tone.
- Consider lead hardness. A harder lead holds a point longer and gives more precise, hair-like strokes; a softer lead glides more easily but blunts faster and is easier to overapply.
- Retractable vs. sharpenable is mostly a maintenance tradeoff - retractable pencils need no separate sharpener but eventually run out of length, while sharpenable ones last longer overall.
How to apply it
- Brush brows up with a spoolie first, so you can see the natural shape and exactly where the gaps are. For mapping a new shape, see Brow Shaping.
- Draw short, light strokes in the direction of hair growth, starting with the sparsest areas rather than tracing an outline.
- Keep the front lightest and define toward the tail. Natural brows are softest where they start and most defined from the arch to the tail, so concentrate pressure and strokes there.
- Blend with the spoolie after every few strokes, so the pencil marks merge with the natural hair.
- Set with brow gel to hold the hairs and keep the pencil from fading - see Brow Gel.
Common mistakes
- Drawing solid, blocky strokes instead of short, hair-like ones, which is the most common cause of a harsh, drawn-on look - see Why do eyebrows look too harsh or drawn-on?
- Pressing too hard, which produces a thick, unnaturally solid line instead of a fine one.
- Filling the entire brow evenly rather than concentrating strokes in the naturally sparser areas.
- Skipping the spoolie blend-out step, leaving individual pencil strokes visibly separate from natural hair.