Winged Liner
Extending eyeliner past the outer corner in a straight, defined line to lift and elongate the eye shape.
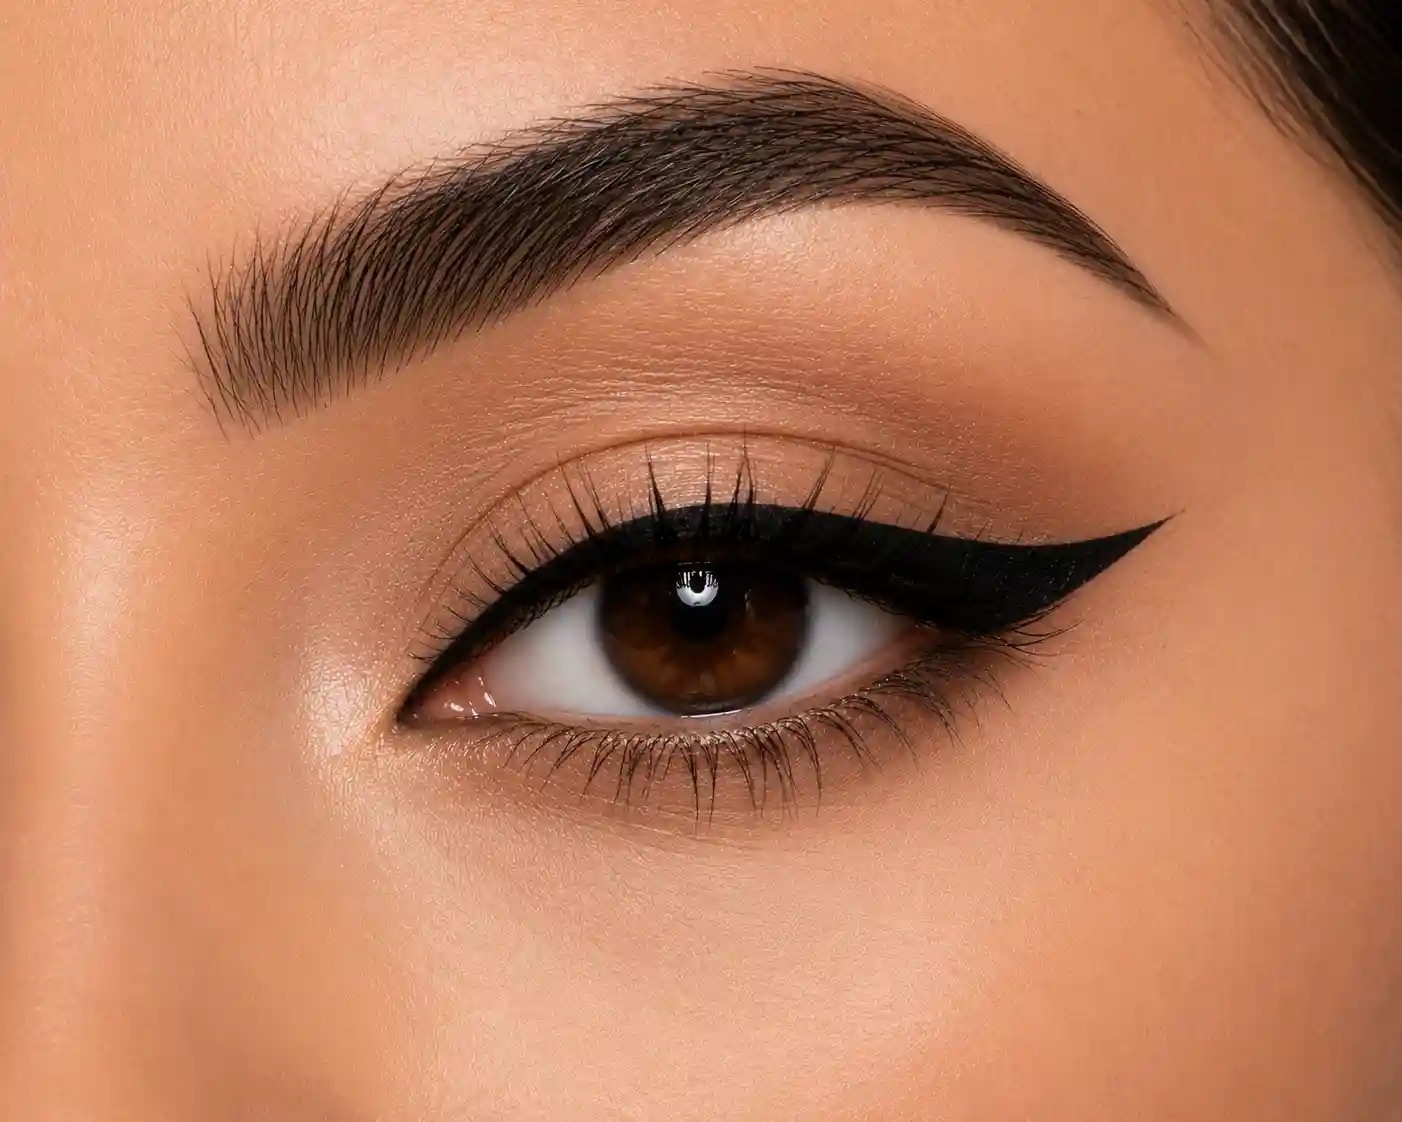
What it is
A winged liner extends the line along the lash line past the outer corner of the eye, angled slightly upward, to visually lift and elongate the eye shape. It's one of the most recognizable eyeliner techniques and also one of the most commonly asymmetric on a first attempt, since it depends on matching an angle across two eyes that aren't perfectly identical in shape.
How it works
The wing works as an extension of the eye's own natural lower lash line angle, rather than an arbitrary line drawn on top of it - following that existing angle rather than fighting it makes the wing look like a natural extension of the eye instead of a shape stuck onto it. Liquid or gel liner holds the crisp edge the wing depends on; softer pencil liner can be used but requires more careful, precise application since it doesn't hold a sharp line as easily.
How to do it
- Line the lash line first, from the inner corner to the outer corner, before starting the wing itself.
- Find the angle by visually extending a line from the lower lash line's angle past the outer corner - this becomes the wing's guide line.
- Draw the wing's top edge along that guide, starting thin at the tip and thickening toward the lash line.
- Connect the wing to the lash line, filling in the small triangle between the two so there's no gap.
- Check both eyes from a distance, not just close to the mirror - symmetry is easier to judge from a few feet away than up close.
Common mistakes
- Making the wing too steep relative to the eye's natural angle, which can look disconnected from the rest of the liner.
- Drawing the wing before finishing the lash line, making it harder to judge proportion and connect the two smoothly.
- Chasing perfect symmetry stroke by stroke instead of stepping back periodically to compare both eyes as a whole.